June 29, 2017

Xbox quilt

About a year and a half ago, I entered a block in the Tim Holtz Creative Journey challenge.  I was one of 24 winners, which resulted in my block being pieced into a quilt alongside the other winners.  I also won a design roll of Eclectic Elements fabric; this design roll became the basis for the quilt I am sharing today.


I started with the idea of making 16-patch units from the strips in the design roll, then played with a few different ideas for a block to alternate with the 16-patch.  I settled on an "X" block; I'm not sure if there is an official name for this particular block, but when combined with the 16-patches the result becomes an Arkansas Crossroads quilt.


I supplemented the design roll with some scraps, and also purchased a few newer pieces, but the entire quilt is made from Tim Holtz fabric, other than a strip of chambray on the back.


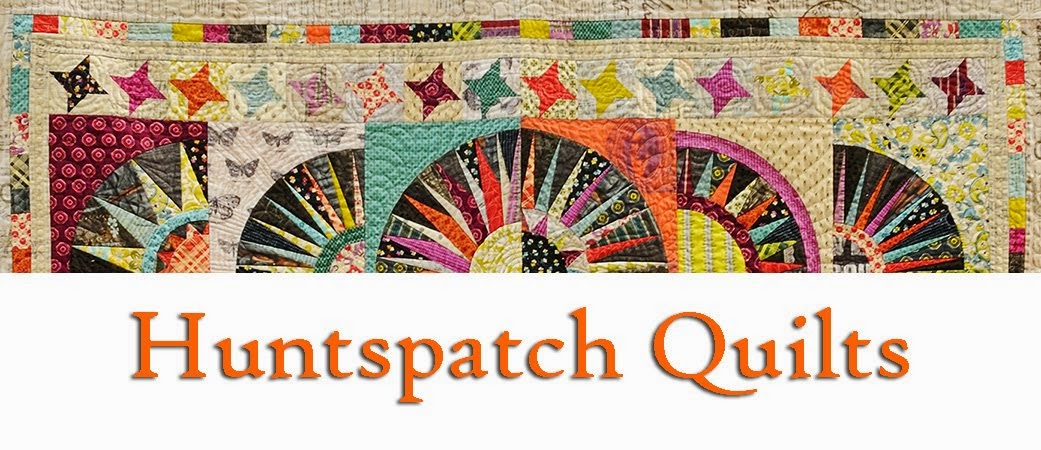
The background fabric is Model Airplanes from the Correspondence collection.  There is not a lot of contrast between this fabric and some of the design roll fabrics; I chose to use them all anyway.  The design might not be as distinct this way, but I like the result.


I used a ruler to quilt a curve design in the print areas; this was inspired by an online class with Lisa Calle.  I repeated the curves in each block, but used a variety of background fills.  This one with matchstick quilting is one of my favorites, but I only did one block like this because of the time involved.  (I did several with a more relaxed back-and-forth fill.)


Here's a photo showing the border quilting and the bias binding:


And here is a view of the quilting from the back:


I used two different fabrics for the back; they seemed to want something to separate them, so I inserted a strip of chambray.


I like both fabrics, but I really like the one on the right, and I sort of regret not using it for the entire backing.


This quilt started out to be a quick project with minimum investment, but I ended up spending so much time on the quilting that I'm a little more attached to it now.


I'm linking up with crazy mom quilts for Finish It Up Friday.

June 9, 2017

New photo setup

I borrowed a photography backdrop stand a few months ago for some quilt photographs, and decided I should have one of my own.  The setup consists of two vertical supports with a cross bar, and is adjustable in height and (somewhat) in width.


(I could have removed one of the top support sections for the above photo, but I didn't think of it at the time.  You'll see below why it is set to the maximum width.)

When I placed the order, it was worthwhile to add enough to my cart to qualify for free shipping.  The daily special was for a 10x10 muslin backdrop, so I added this to my order, along with a set of hanging clips.  (I'll use the hanging clips for quilts without a sleeve, unless I use the muslin.)


To use the muslin backdrop, I guess it would be best to use two stands.  But I simply pinned the quilt to the muslin, using basting-type safety pins from the back and pinning so that the pins do not show from the front.


The muslin makes for a cleaner background in the photos:


I think this setup will be especially helpful for entering contests, where sometimes the rules require that the entire front of the quilt be visible, with no clips or hands showing.

I also like that I can take photos without having to enlist multiple helpers, although it is still useful to have someone help thread the quilt or muslin onto the bar, and to keep things from toppling if a breeze stirs up.  (This is not a setup to use in the wind!)

Here's another new photo using the equipment, although these are quilts I have shared before (here and here).


UPDATE: Here's a photo showing the hanging clips in use: